|
Jan 28, 2014
Tuesday, January 28, 2014 | 0 comments
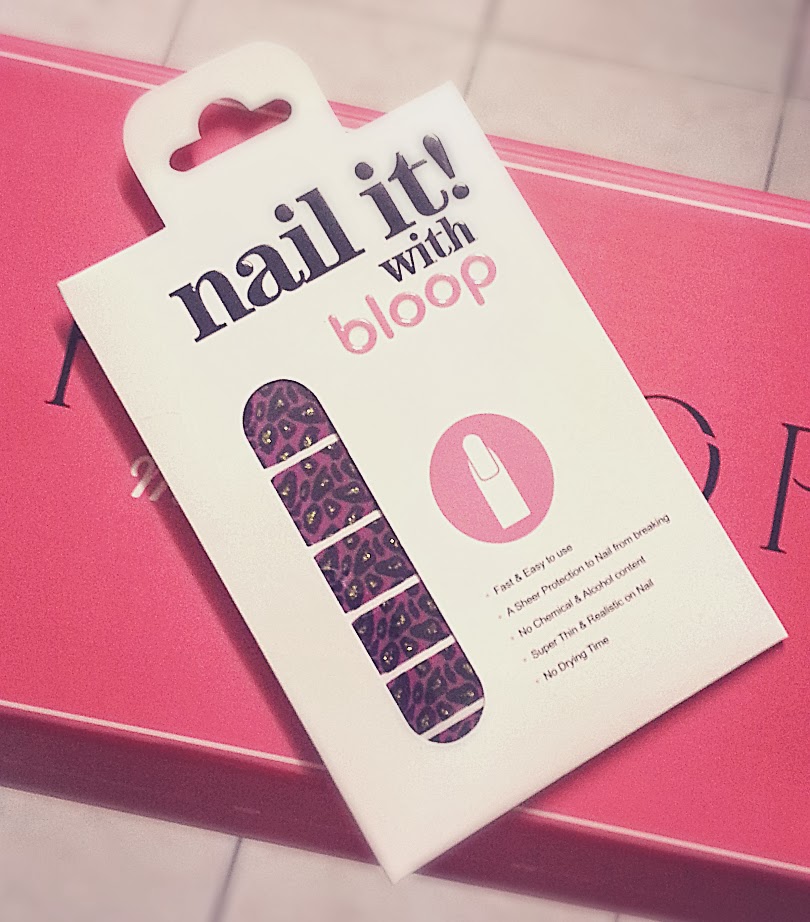
As promised in my bloop nail polish post, here's my review for nail it! with bloop nail strip!
To be honest I've never used a nail strip prior to this idky. (I think I might just have a few lying around somewhere...) But this is my first time using nail strips so I'm really excited! :D #NailStripVirgin lolol
If you're not the pink leopard print type, fret not! They do come in many other patterns. (:
Flip over for instructions.
Or you can read my post lolol.
The inside.
The pretty pink nail file will be packed in along with the strip for later use.
Instructions
Step 1: Make sure your nails are clean.
Be sure to remove all of your existing nail polish!
Also, I've read on other sites that using a base coats would be a choice you can go with or without.
So I tried a few nails with and others without.
Personally, I suggest to go without.
I find that the nail strip lasts longer on nails without the base coat.
The nail strips are stick-ons so having a unsmooth surface won't be a problem, and you won't have to worry about having a protection for nail-polish chemicals.
Step 2: Pick the strip that suits your nail size most
Step 3: Remove the plastic protective layer
Step 4: Align and place then nail strip on your nail.
I snipped the strip shorter to a length a few millimetres longer than my nails to have a better control over the strip.And it worked for me.
Just make sure that you leave enough space to fold it down! (refer to step 6)
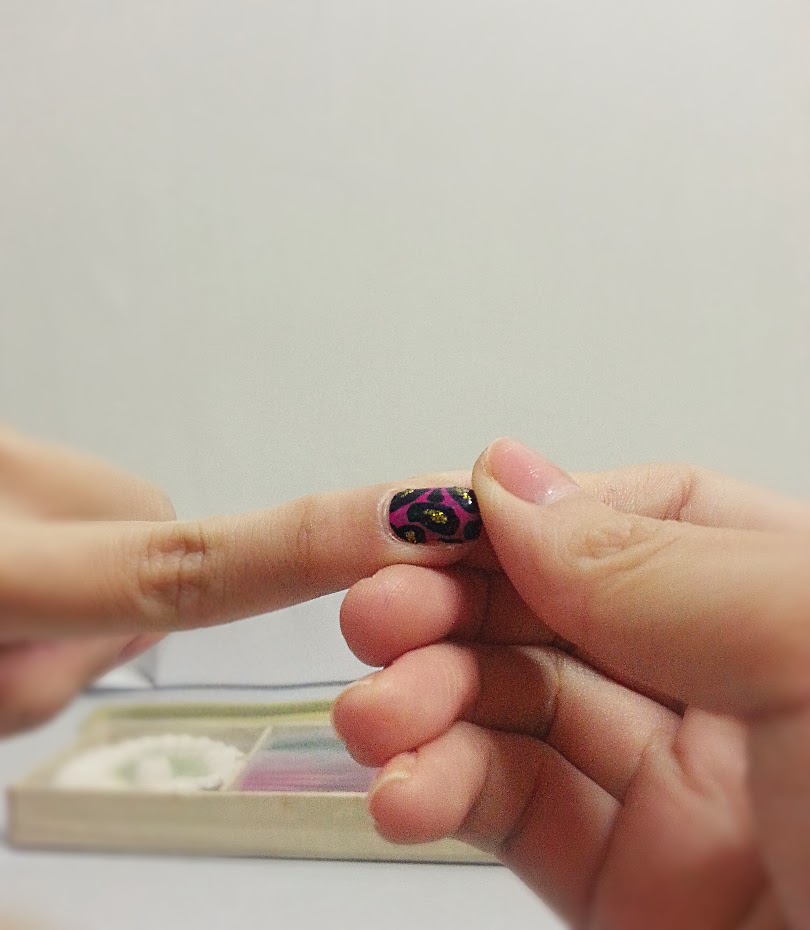
Step 5: Rub the strip over the nail starting from the centre towards the sides (!!!).
The effect is better that way, trust me.
I tried doing it from the sides cause I thought it'd be easier. Nope.
More so, starting from the centre helps keep air bubbles away.
Double highlight on the downward please.Dont do the up-down-up-down filing.
Not only that it might mess up the sticker (idk how to explain but if you really wanna know you try la wtf),
you might just accidentally file off a chunk of your real nails together with the stickers.
I know cause I did. T_____________T
So please be really careful. It usually takes one stroke to "cut" the strip.
Step 8: Rub striped nails again to remove excess bubbles.
Which wouldn't be much of a job if you did your Step 5 properly fml
Bonus: Peel the filed off part away whenever you feel like it wtf.
You'll most probably find it stuck under your nails.
If you do snip it shorter (refer back to Step 4), make sure you leave at least 1.5mm for an easier removal!
Make sure it is completely detached from the part on your nails!
Or you'll just peel the whole thing off.
Which is not too hard to get it back on la actually hahaha
Step 9: Apply top coat for longer lasting wear.
AND YOU'RE DONE!
Repeat for the entire hand
And the other
First time my right hand can haz the pretty T___T
Overall, I think bloop's nail it! nail strips are definitely something.
I usually take about 4 hours to do my own nails (with a million errors in between la hahaha) but with the nail strips, my entire process took only about 15minutes. And that includes taking copious amounts of the pictures you see above wtf
My favorite part about nail strips is that there is no drying time! My biggest fear after putting on nail polish is that I might just smear it and ruin my entire 4 hours of effort. I swear, checking your nails every time you doing anything after a good amount of time spent on your nails is one of the most nerve-racking thing in forever.
Also, if you noticed, some of my pictures were taken on a different day i.e. literally right in the middle of my typing this blog post because I am a genius for accidentally deleting my photos wtf.
BUT the point is, it is so convenient and fast to use! Even for right hands magad. I have a squirrel for my left hand when it comes to nail painting. I jitters so much it takes forever to get unfugly right hand nails T__T
-
And if you missed out on the previous post:
Exclusive for yall lovely readers ♥
Key in the code: BLOOPNAILS
and get a RM20 rebate with minimum purchase of RM99
valid till 31 March 2013
For more information -
bloop:
HiShop:
You can also Subscribe to HiShop's newsletter so you won't miss deals!
-
Thank you for reading!♥♥
I have a million other things to blog about so it's definitely safe to keep coming back hahaha
I'll blog again soon!
You know I love you ♥ xxxx
|

|
|


 Daphne. Sagittarius. 14th December 93.